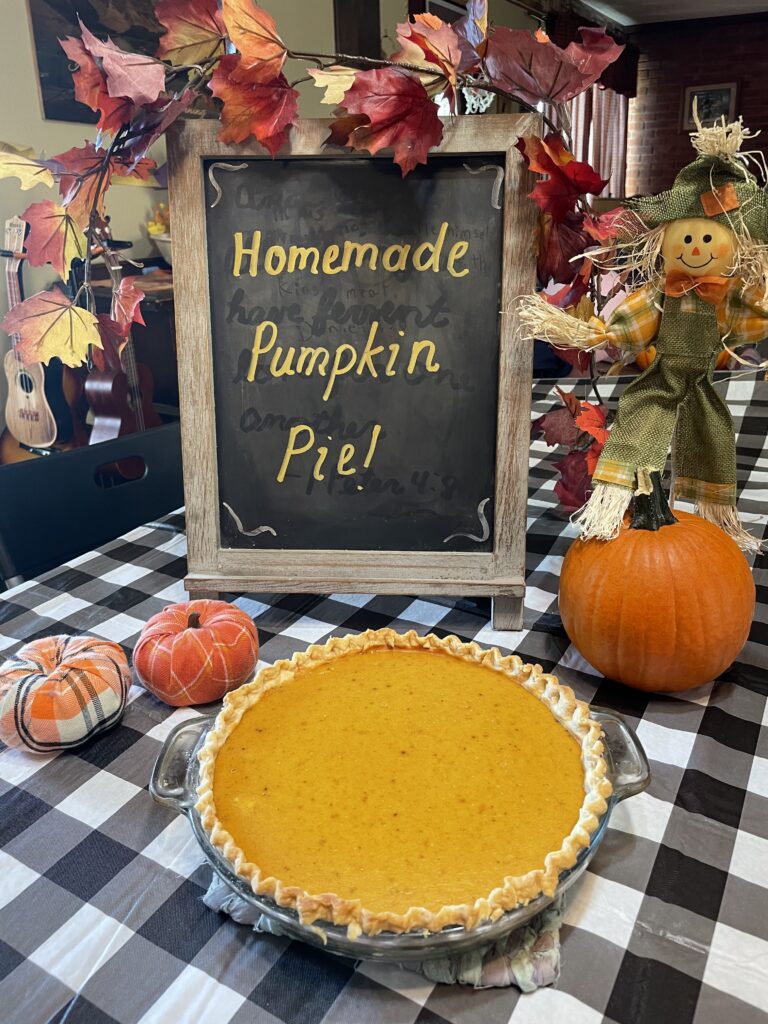
How to Make Pumpkin Pie From Scratch!
We may earn money or products from the companies mentioned in this post.
I love pumpkin everything! Pumpkin crafts, pumpkin creamer, pumpkin candle melts, pumpkin decor.
But I especially love pumpkin pie and pumpkin roll!
Yesterday we made our first pumpkin pie of the year! (While listening to Christmas music hee hee. We usually start listening to Christmas music in August, so we are only a month behind!)
I prefer to use fresh pumpkin as opposed to canned, because I think it has a better flavor. I also enjoy letting the children learn and experience how to cook from scratch. It is beneficial for them to see the whole pie process from purchasing the pumpkin to smelling the scrumptious aroma escaping the oven. It is not hard to cook a pumpkin, just more time consuming than using the can opener 🙂.
In this post, we are going to walk through the steps to making pumpkin pie using fresh pumpkin!
NOTE: If you are nervous about attempting to make a pumpkin pie from scratch, you can find pre-made pie dough in the refrigerator section at your local grocery store, and you can purchase canned pumpkin puree with or without the added spices that make pumpkin pie so delicious!! What matters is that you are doing something together.
Supplies needed to make a pumpkin pie
- a sugar pie pumpkin or long island cheese pumpkin (read post to help you choose the right pumpkin)
- a baking sheet (this set includes the necessary jelly roll pan for pumpkin roll)
- pot holders (these are the ones I’m planning on getting my daughter for Christmas!)
- cooling rack
- aluminum foil (optional)
- mixer
- Silicone spatula
- pumpkin scoop
- knife
- fork
- teaspoon
- 1/2 teaspoon
- tablespoon
- measuring cups ( 1 cup and 2 cup)
- pie crust shield
- pastry cutter (also known as a pastry blender. Needed to make crust)
- pie crust decorator set (optional)
- pie plate
- flour
- cold water
- white sugar
- ground cloves
- ginger
- nutmeg
- cinnamon
- salt
- 2 eggs
- 12 oz can of evaporated milk
- shortening or lard
- Ready Whip
** Though I included an Amazon link for the spices, I recommend you purchase them from a store like Walmart because you can get them there a lot cheaper 😊.
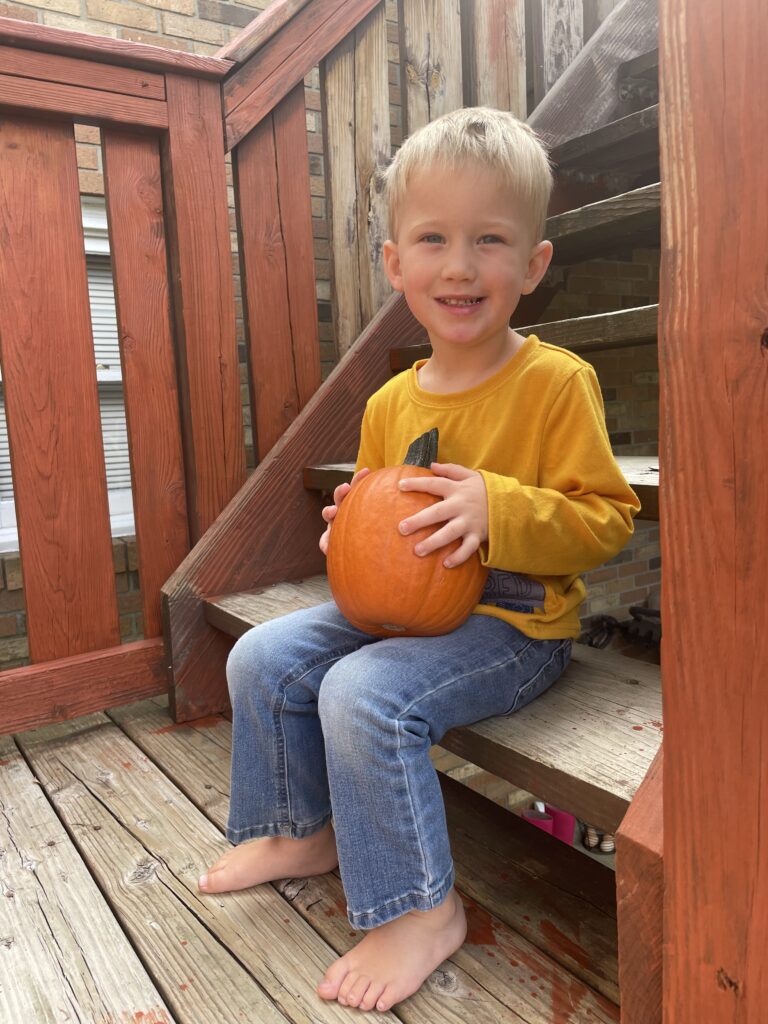
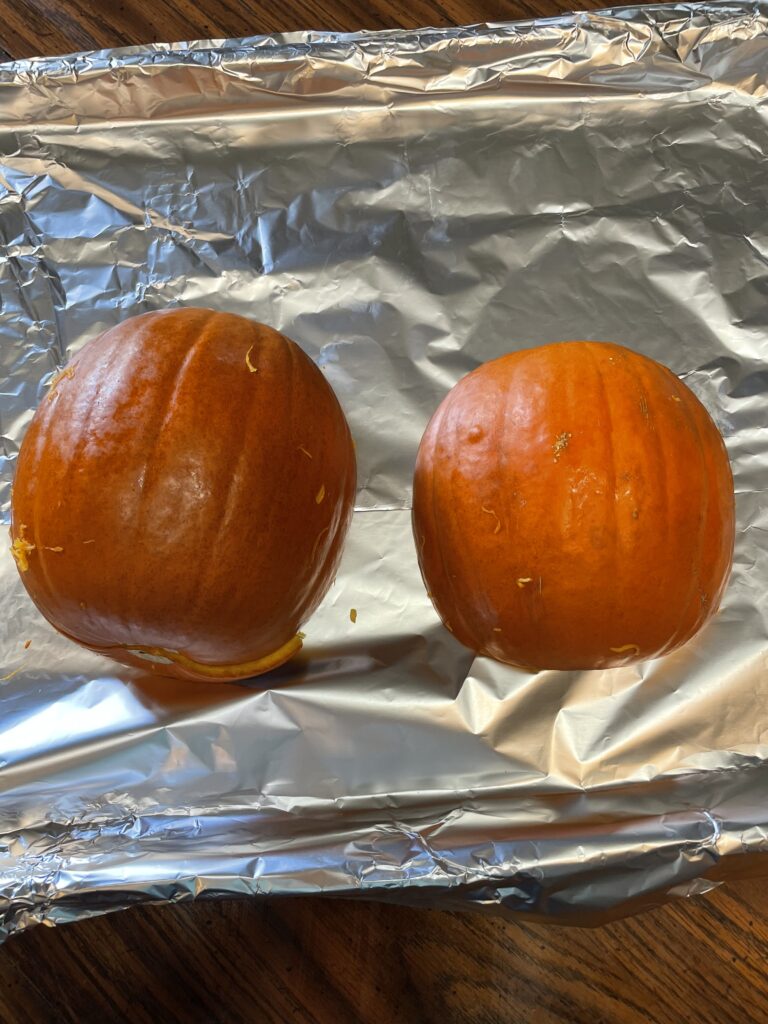
Step 1: Grow or purchase your pie pumpkin.
Did you know not all pumpkins are useable for pie recipes? You have to use certain pumpkins in order for your pie to have the proper consistency. Pumpkins like the one pictured above are Sugar Pumpkins, but many times they are labeled as pie pumpkins in the store. They cost usually around $2.
I’ve also used the long island cheese pumpkin for pie, and have had success. Some people suggest this particular pumpkin for one’s first homemade pie, but I myself don’t think it is necessary.
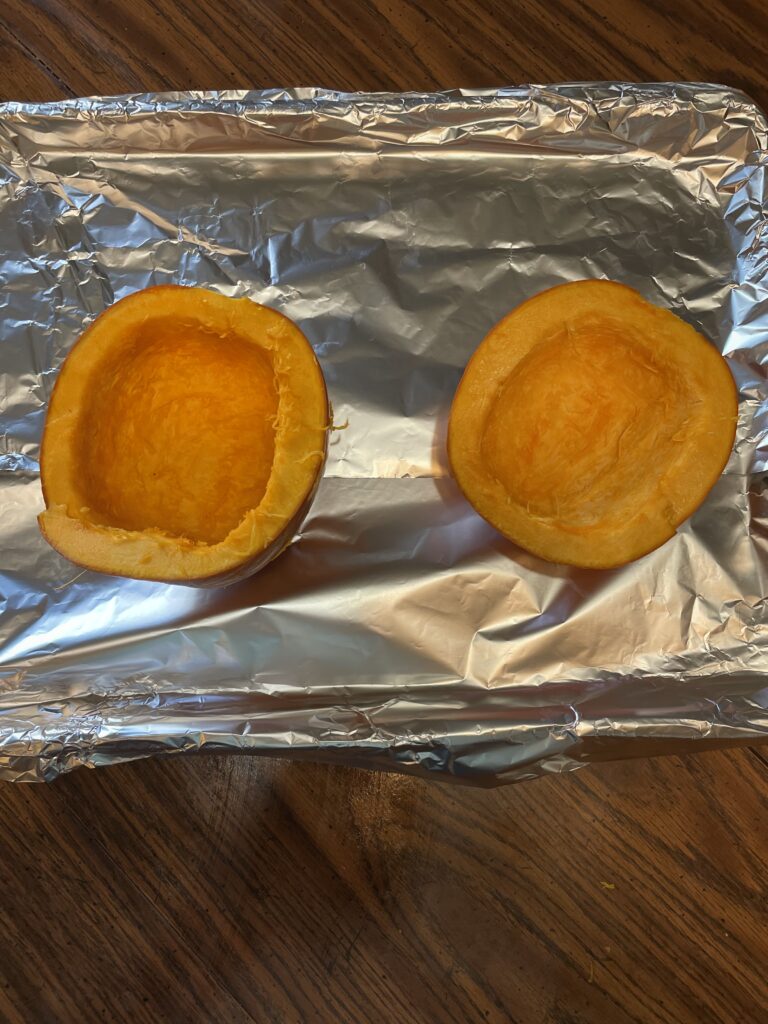
Step 2: Clean and cook your pumpkin.
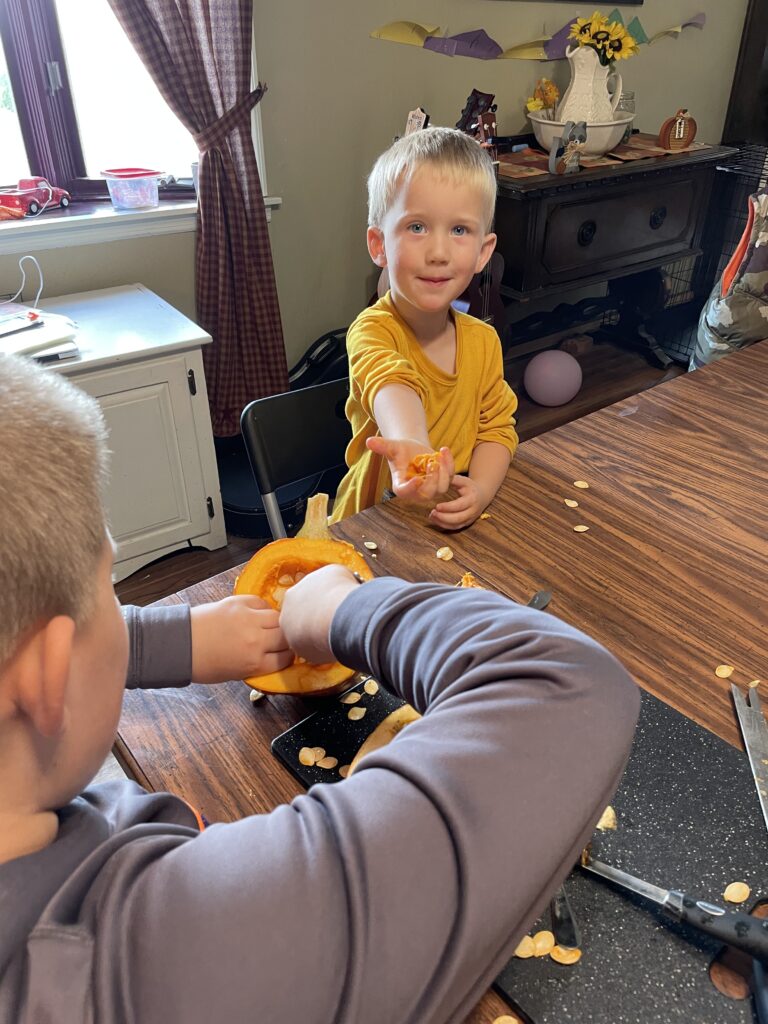
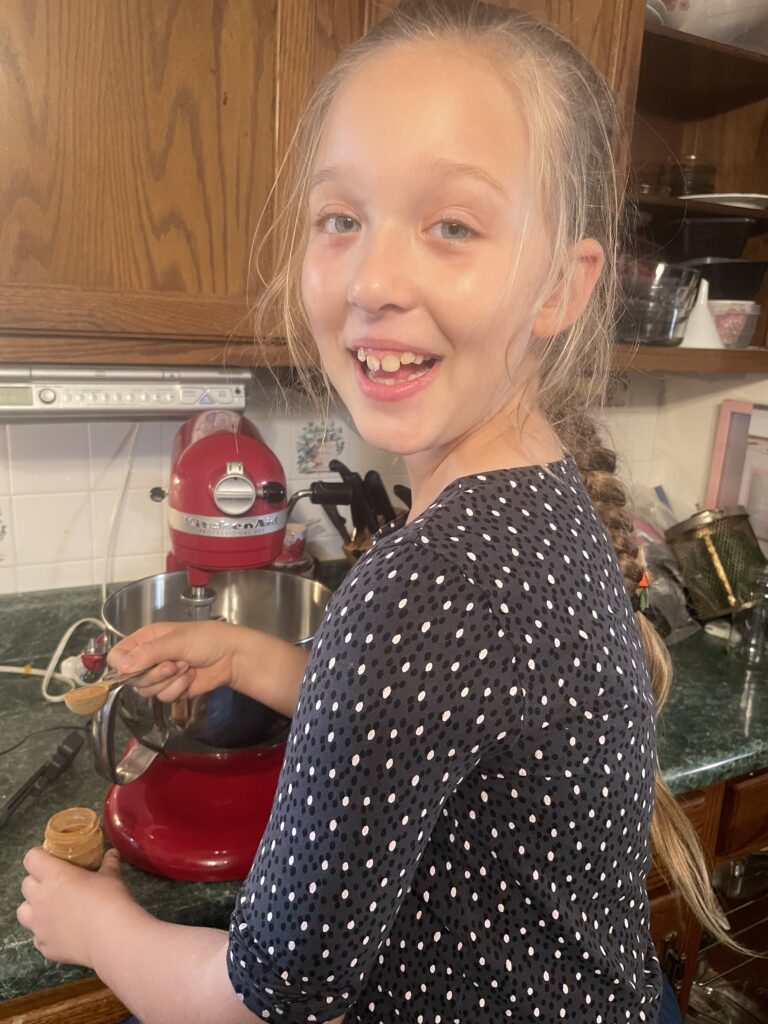
First set your oven temperature to 350 degrees. Then wash your pumpkin, and cut it in half. Next scoop out all the pulp yourself, or have your children handle this messy task. Make sure to scrape off the pulp strings that want to cling to the pumpkin, but not to the extent you are taking away from the meat of the pumpkin. I love to make sure everyone is included, so I had my oldest scrape out his half of the pumpkin, then put the pulp back in it so my 2 year old could have the pleasure of successfully cleaning out a pumpkin. You could also use this opportunity to talk about the life cycle of a pumpkin if time permits.
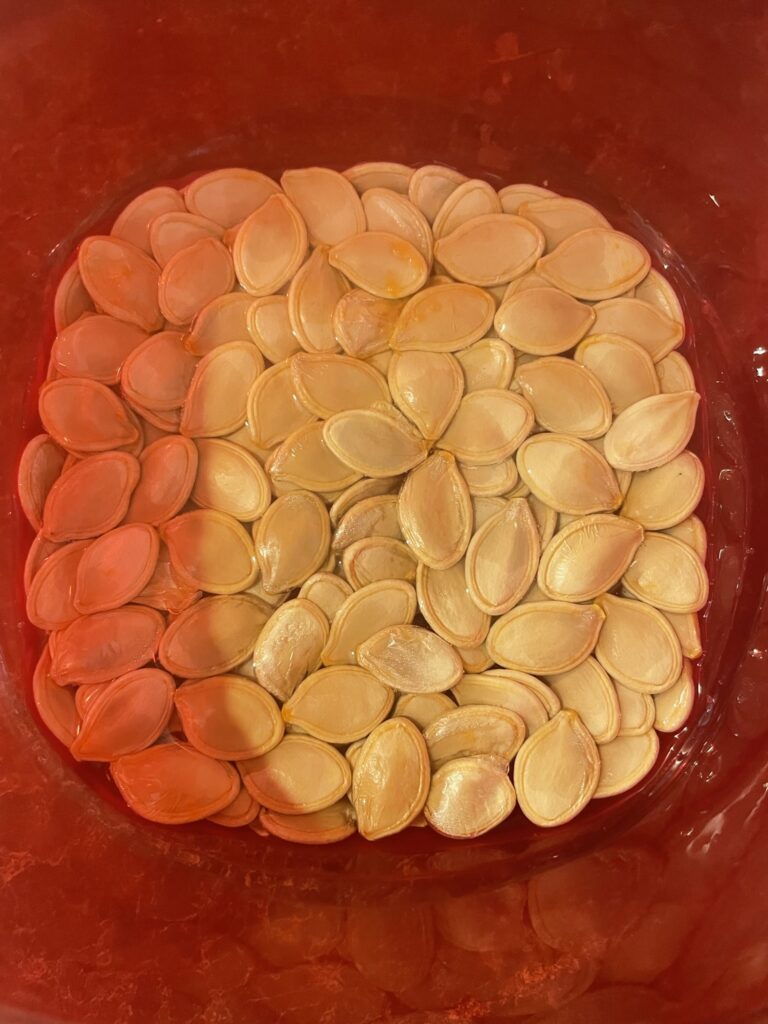
We like to roast our seeds in the oven. You can find recipes for sweet or salty roasted pumpkin seeds on Pinterest.
I usually line my cookie sheet with aluminum foil, shiny side down. That way if any of the cooked pumpkin wants to stick to the pan, it will be on the disposable aluminum instead, making the pan cleaning process easier.
Place cleaned pumpkin halves face down on the pan. Then stick your pan in the oven, and set the timer for 45 minutes!
3.) Make your pie crust.
I usually make my crust while the pumpkin is cooking to keep things moving. I do this step myself for now, and as the children get older I will pass the torch to them. There are a variety of pie crust recipes on the internet. Though it doesn’t necessarily matter what crust recipe you use, it does matter that you follow the directions exactly as written. Pie crusts can be tricky, due to the fact that your water has to be very cold, you have to be careful how much water you add, and you must not over stir/gather your pie dough.
That being said, my favorite pie dough recipe can be found here, or you can use your own. Remember, you only need one pie crust per pie when making pumpkin pie.
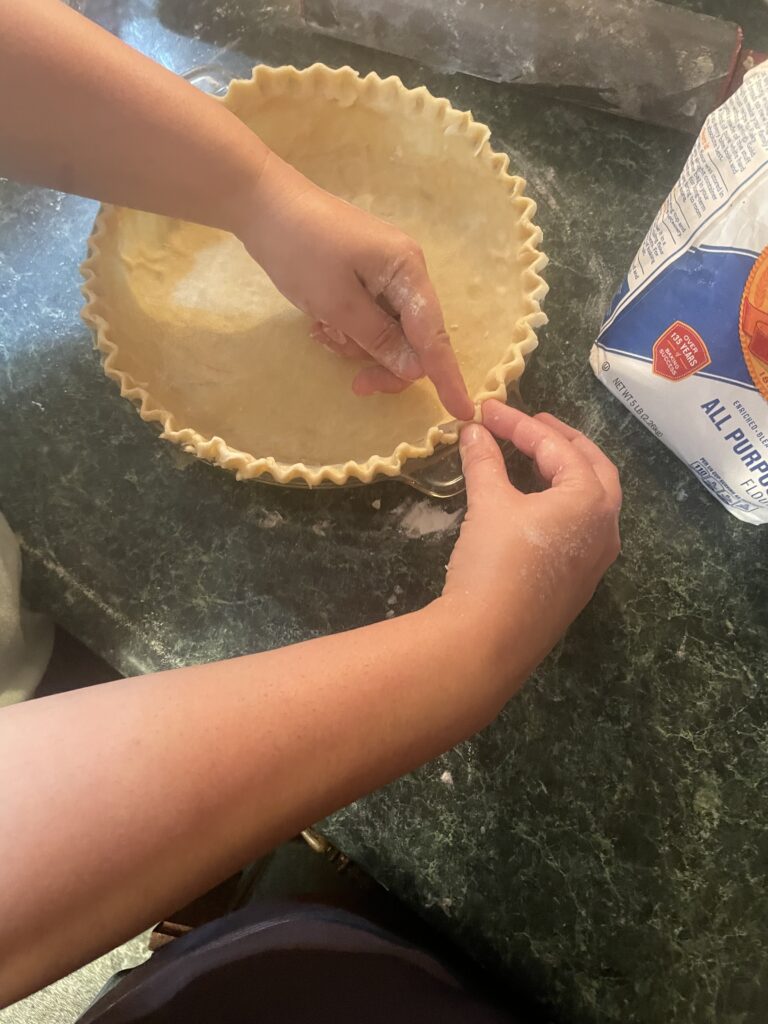
If you have left over dough, you can use pie crust decorator cutters to cut out leaves to add to the top of your pie. (There is an Amazon link at the top of this post for these.) I have done that before and it makes your pie look very attractive!
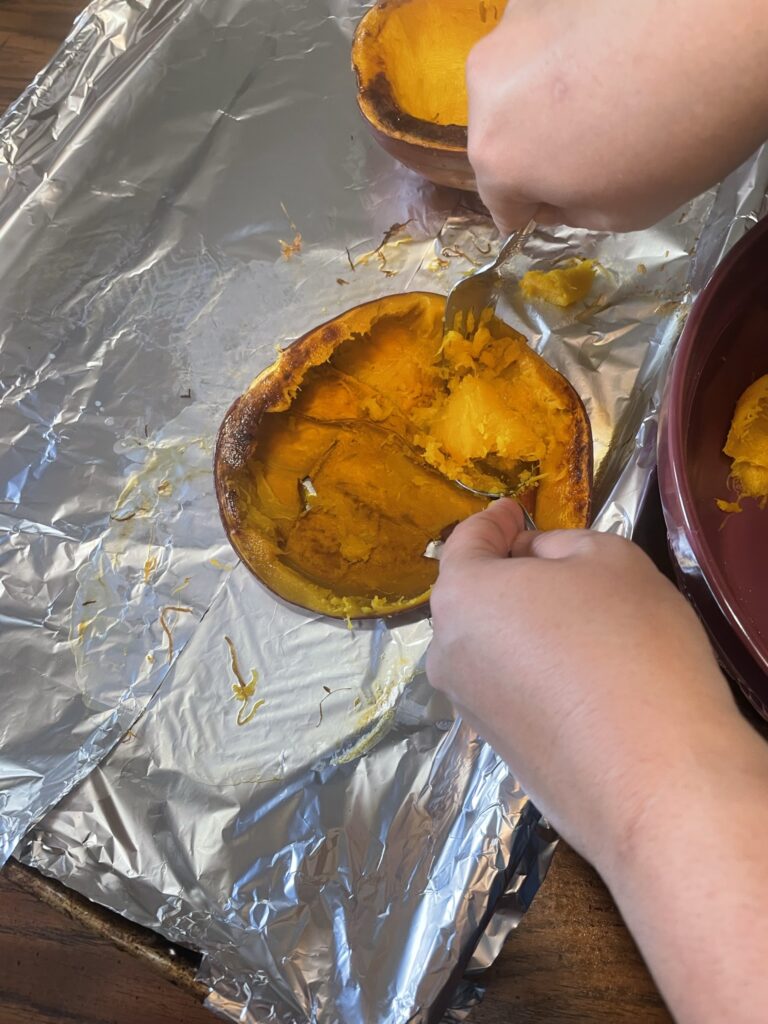
4.) Prepare the Pumpkin Puree.
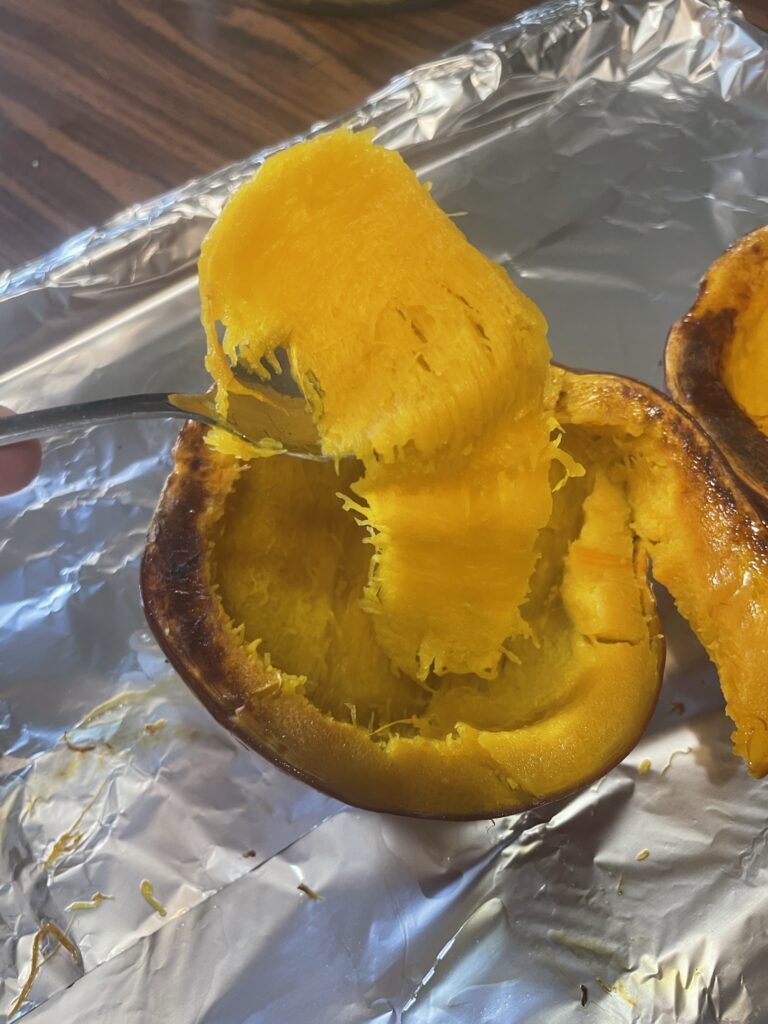
When your pumpkin is done cooking, let it cool on the counter for 5-10 minutes so it is easier to handle. Turn your oven heat up to 425 degrees so you can bake your pie later. Scoop out pumpkin meat from shell. Then place your pumpkin puree in your mixer or kitchen-aid.
Beat the pumpkin puree until the pumpkin is smooth.
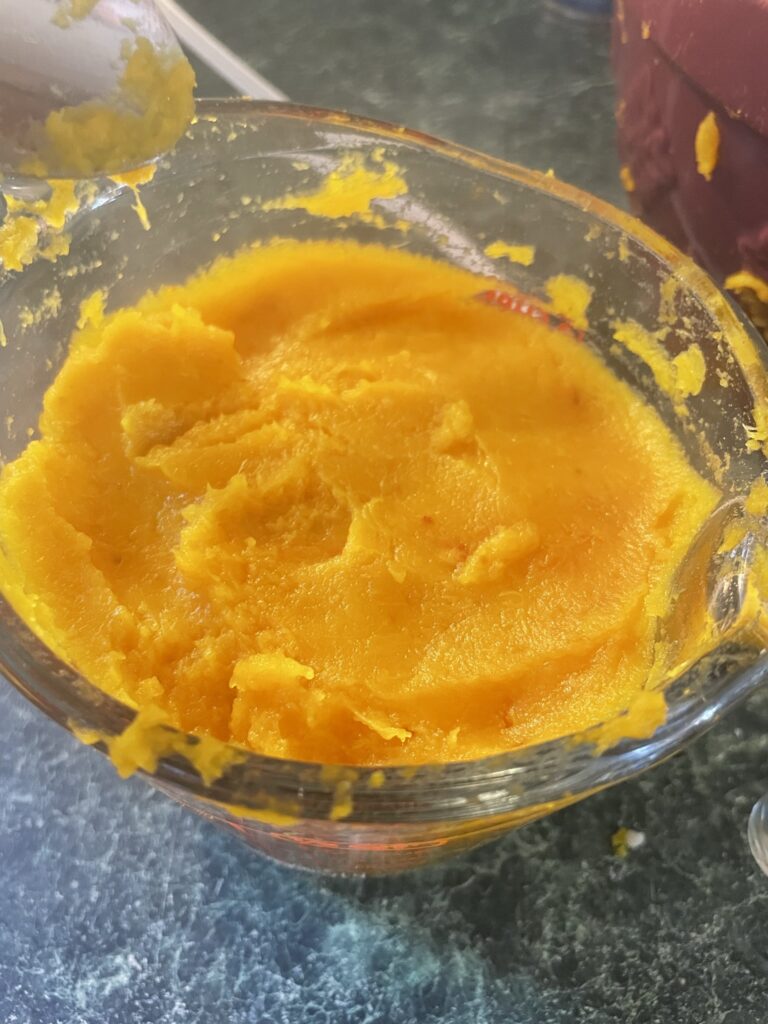
Now it is time to measure! You will only need to two cups of fresh pumpkin puree. If you have pumpkin left over, but not enough to make another pie, you can make a pumpkin roll if you have at least 2/3 cup left (my favorite pumpkin roll recipe can be found here.)
5.) Make your pie filling.
The specific recipe I use is one that I have altered from another recipe. So you can follow it or another one you prefer. The main difference in pumpkin pie filling recipes is the balance of the spices. Increasing your cloves can give your pie a bit more of a “bite”, similar to what you exprience when biting into your favorite gingerbread cookie. ( Adding extra ginger would obviously give you the same effect lol.)
Ingredients:
- 2 cups of pumpkin puree
- evaporated milk 12 oz can
- 2 eggs, beaten
- 3/4 cup of sugar
- 1 tsp (teaspoon) of cinnamon
- 1/2 tsp of nutmeg
- 1/2 tsp of ginger
- 1/8 tsp of cloves (you can increase 1/4 if you prefer).
We had a little fun with this step. I had the children smell each of the spices and try to guess what they are. We noticed that most of these spices didn’t smell very good by themselves. This is a good time to teach the meaning of Romans 8:28- All things work together for good. God uses the good and the bad to make something beautiful out of our life!
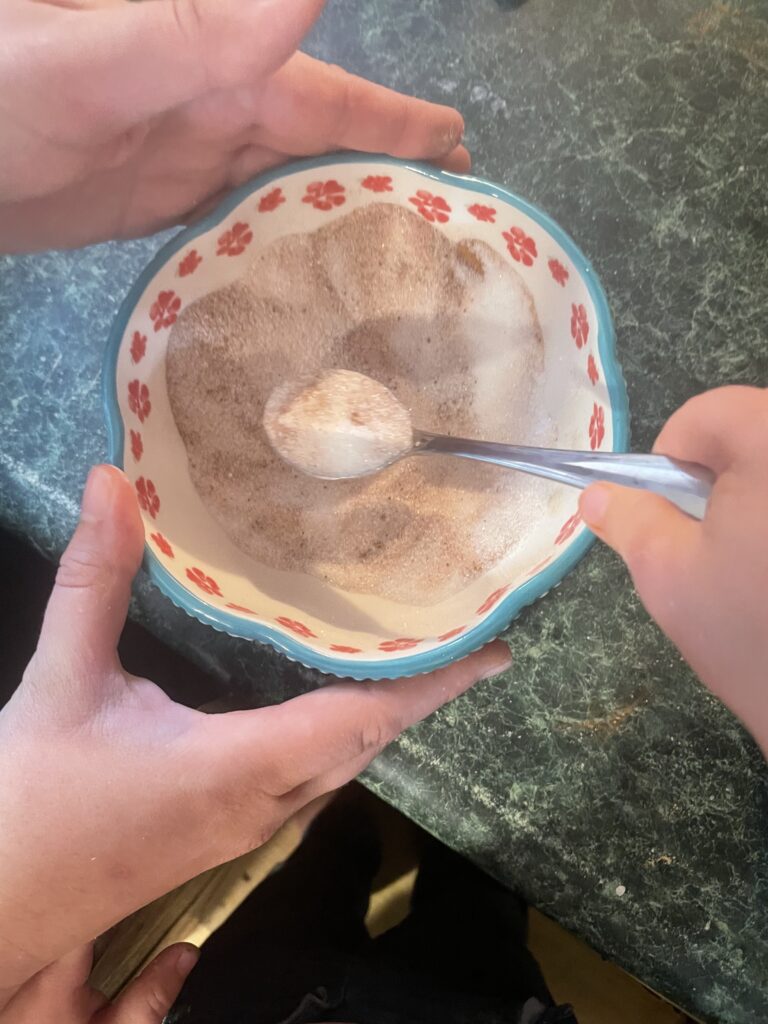
First you want to beat your eggs separately, then beat all other ingredients together until smooth. I like to mix my dry ingredients together before adding them to the pumpkin so I know they are well blended.
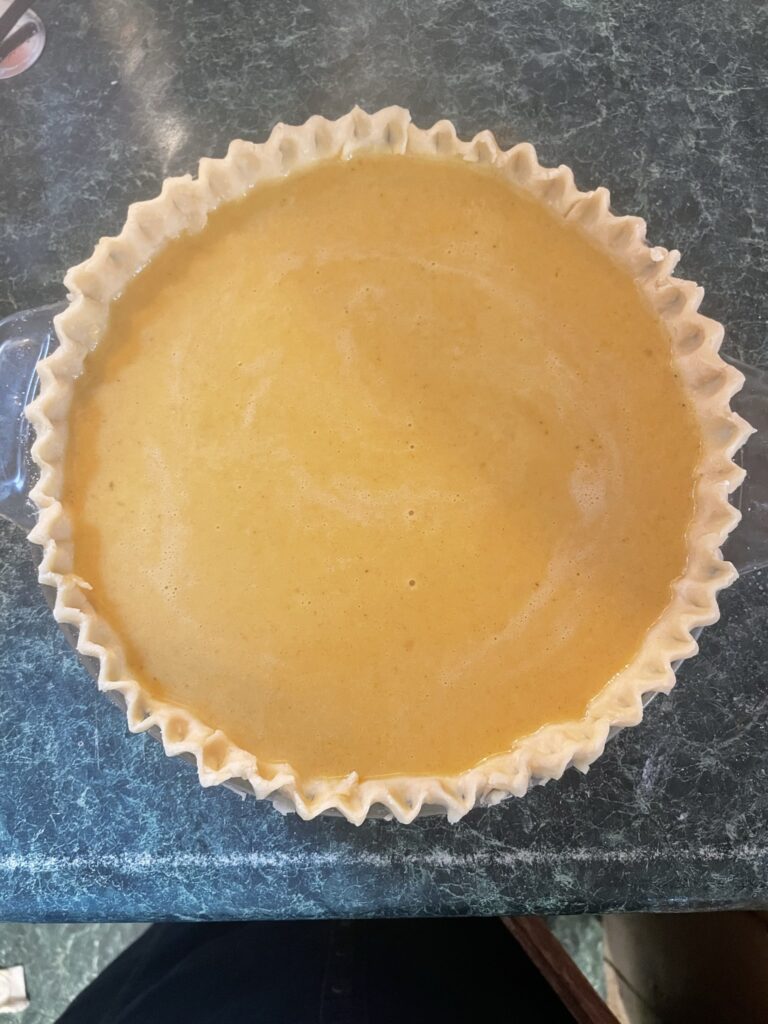
Now you are ready to pour your pie filling into your pie shell!
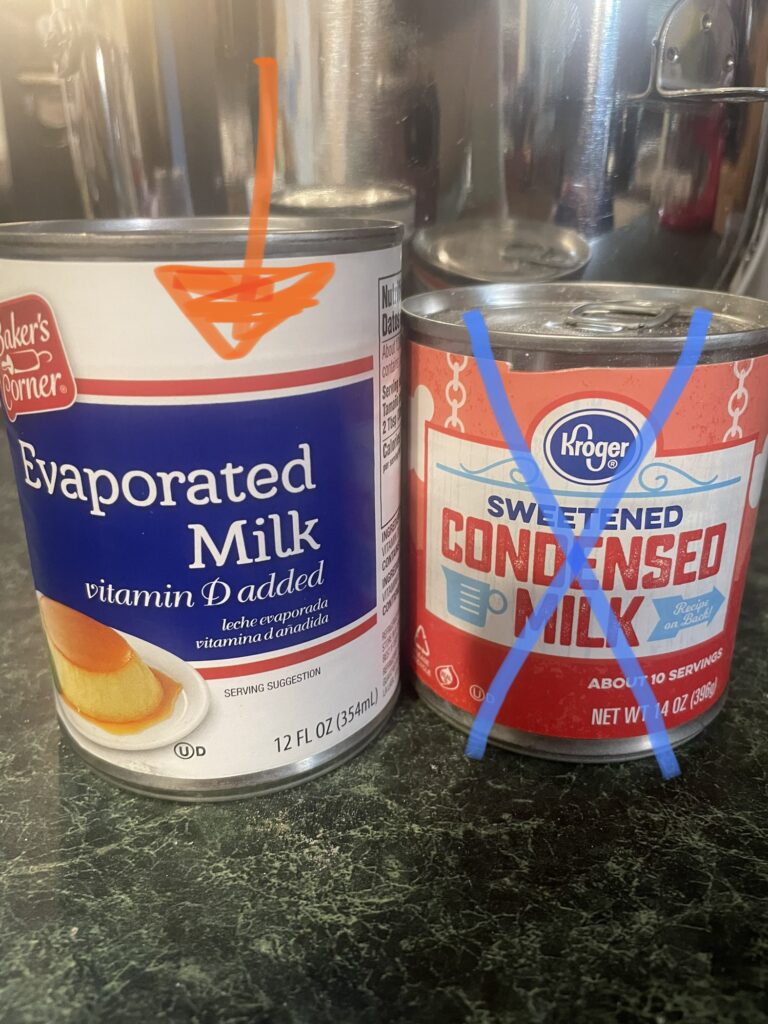
Important: There is a difference between sweetened condensed milk and evaporated milk. There are pumpkin pie recipes that call for sweetened condensed. These recipes would also call for less sugar. Soo make sure you are using evaporated milk for this recipe!
6.) Bake your Pie!
Before placing your pie in the oven, you will need to cover the edges of your crust with either thin strips of aluminum foil (shiny side up) or with a pie crust shield to keep your crust from burning. You can remove the shield or foil 15 minutes before pie is done so you can brown the crust. I prefer to use a crust shield because it is so frustrating trying to get the aluminum foil on just right!
Bake your pie for 15 minutes at 425 degrees. Then turn the temperature down to 350 degrees and bake for 40 minutes.
Place pie on cooling rack when it is done baking (or if you do not have a cooling rack you can place your pie on a couple of pot holders on the counter.) You will notice fresh pumpkin pies tend to look lighter in color than pies using canned pumpkin purée.
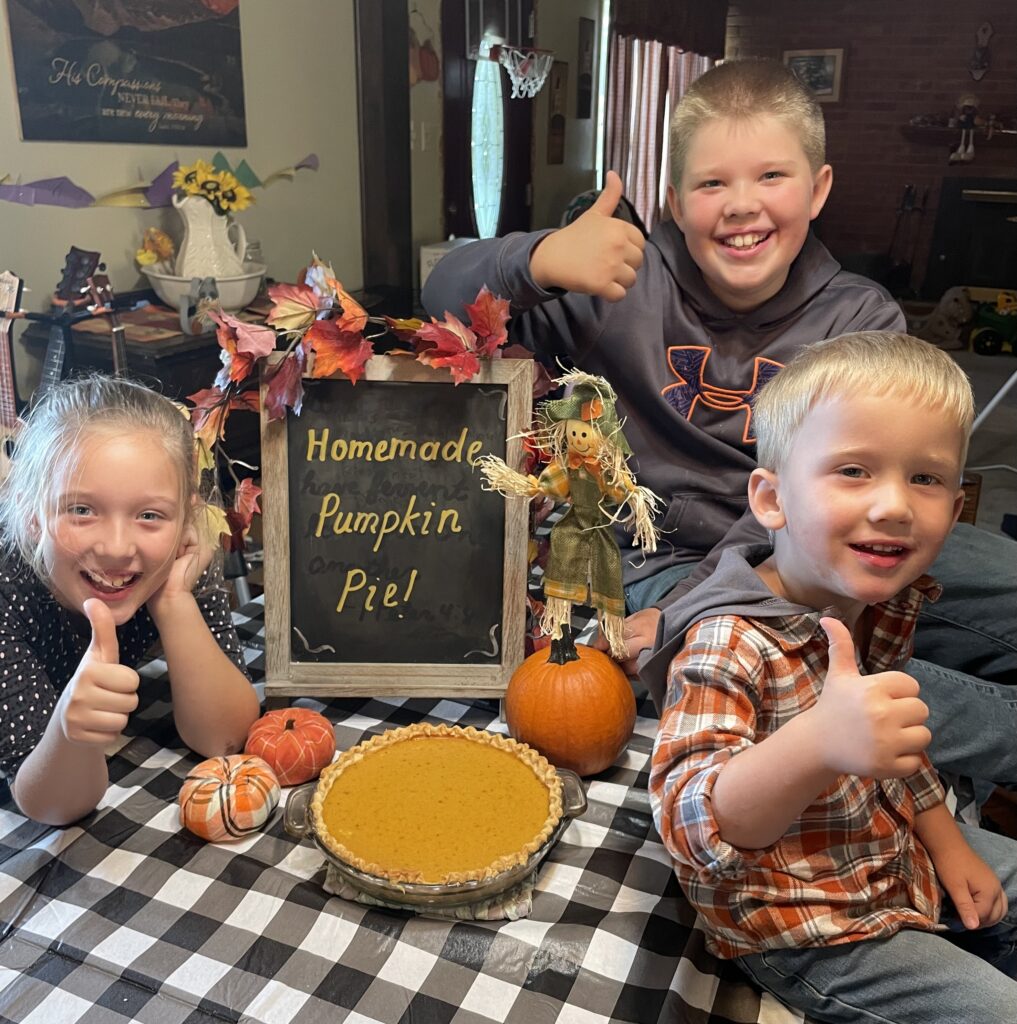
When you pie has cooled, it’s time to feast! Don’t for get to add you whipped cream!!!
Happy pie baking!
Check out my October Activity Packet in the shop for more fun fall learning!